What does it take to create a Rain Garden and what role does community play in that? Anna Prestbo, an AmeriCorps member at Rebuilding Together South Sound tells the story of how she channeled her personal passion for clean water towards a new Rain Garden in central Tacoma!
Guest Post By Anna Prestbo
In 2019, like thousands of people around the world, I lost my job.
To keep myself moving forward I took a placement with AmeriCorps at Rebuilding Together South Sound. I had recently become a Certified Professional in Storm Water Quality and was interested in Low Impact Development, wanted to use my time in AmeriCorps to pursue a person passion: Rain Gardens.
Finding a Partner for the Work
I did some research and found that Pierce Conservation District had a program in place for installing Rain Gardens around the South Sound. I reached out to Melissa Buckingham, the Water Quality Director at Pierce Conservation District, and co-created the Flett Creek Rain Garden Project where I would visit homes in the Flett Creek watershed who might benefit from increased stormwater infiltration in their yards.
Choosing a Site
After doing outreach between our two organizations, we found candidates for our Rain Garden based on the site constraints including: utilities, property setbacks, proximity of trees, and interest in the program. This created a set of qualifying properties to move on to the next step: infiltration testing. Infiltration testing determines whether the rain garden will adequately absorb rainwater.
Using our infiltration test results and the factors listed above, we narrowed down our choices and picked a home in central Tacoma for the rain garden.
Designing a Rain Garden
The first step was to establish the size and shape of our rain garden. We had to make sure it was large enough to catch all the runoff from the house and driveway. Next, we worked with a Master Gardener to find plants that were:
- aesthetically pleasing to the homeowner,
- suitable to the region, and
- comfortable being saturated during the wettest parts of the year.
Once the design and layout were decided, the last step was installation.
Installation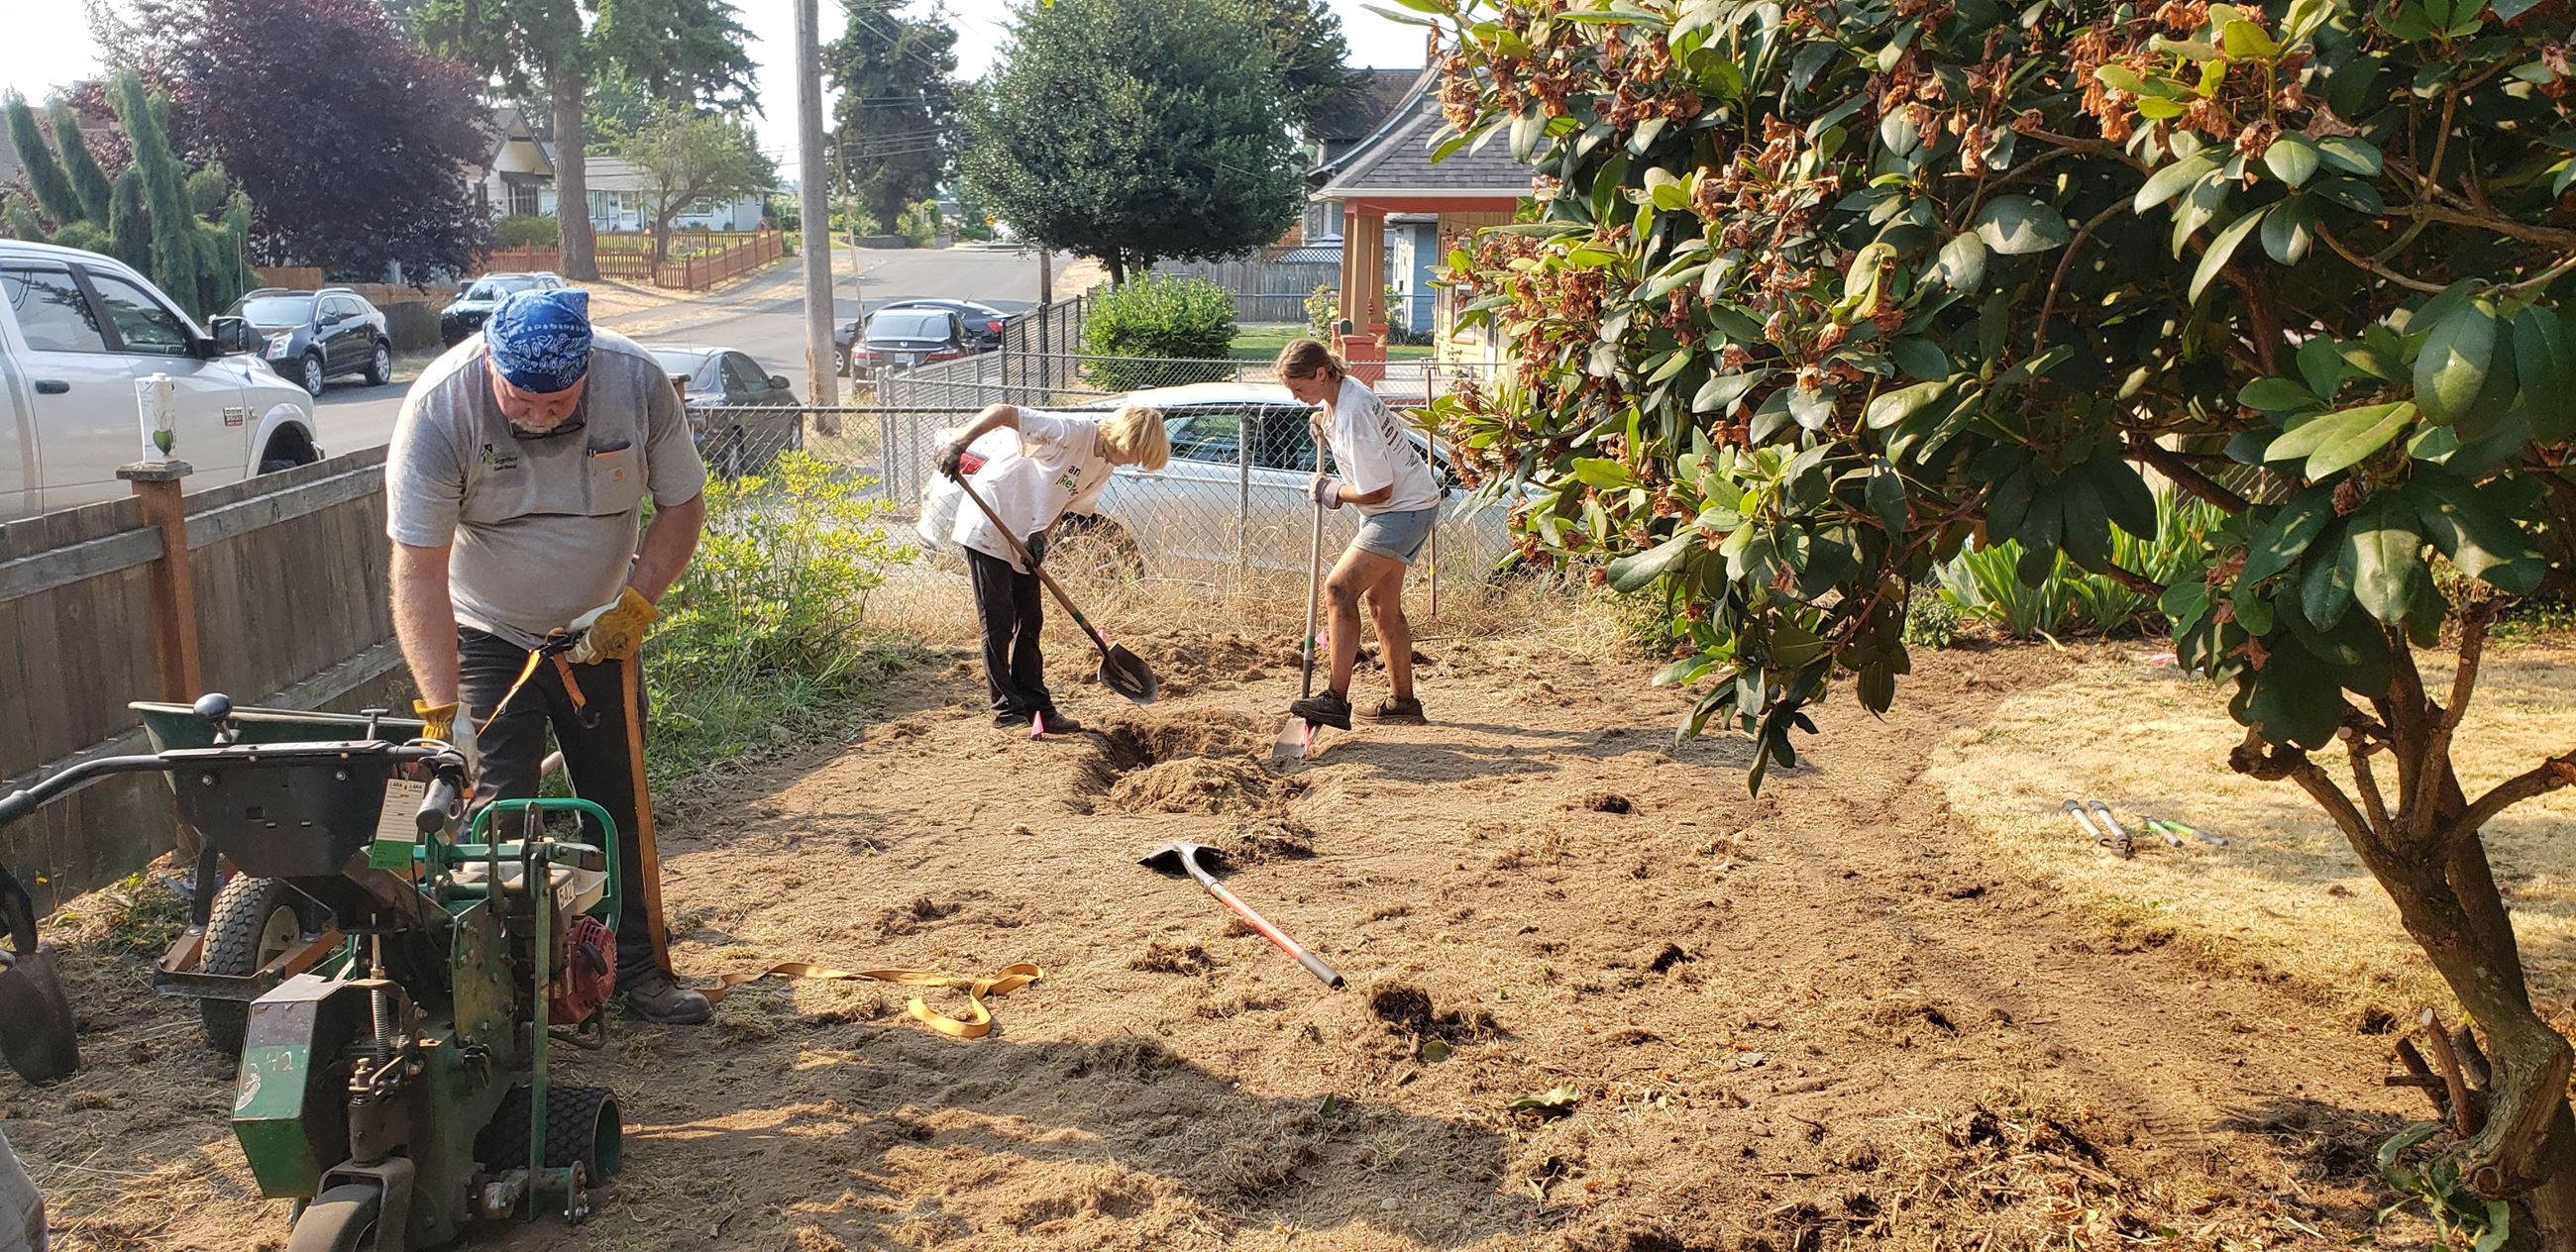
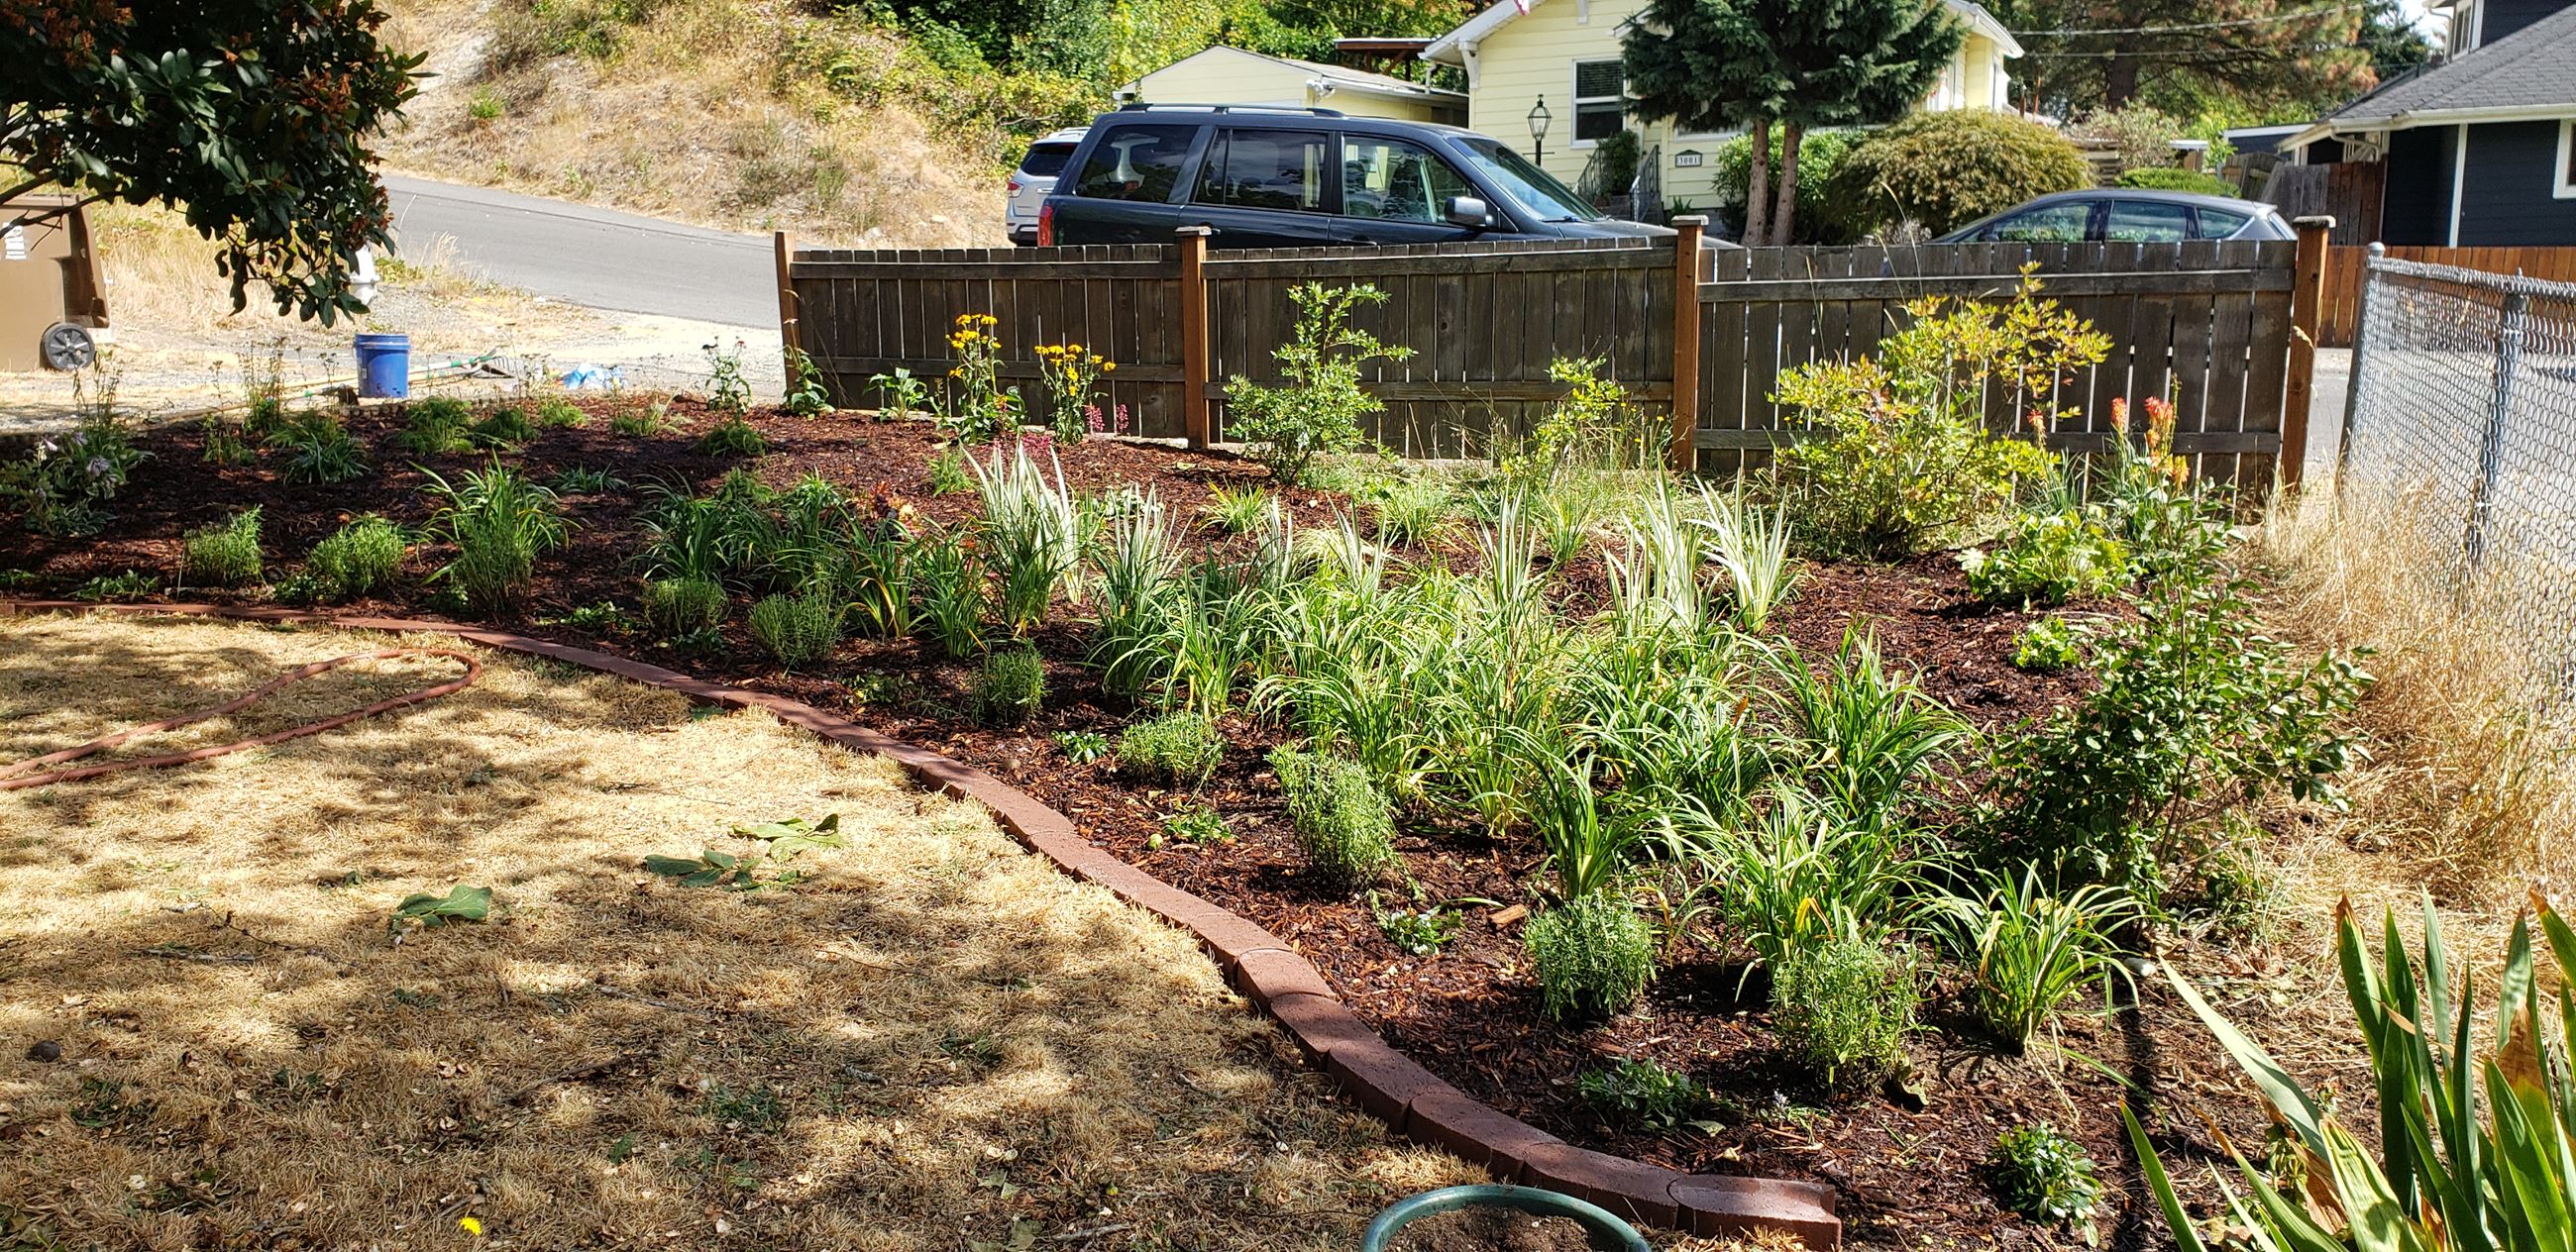
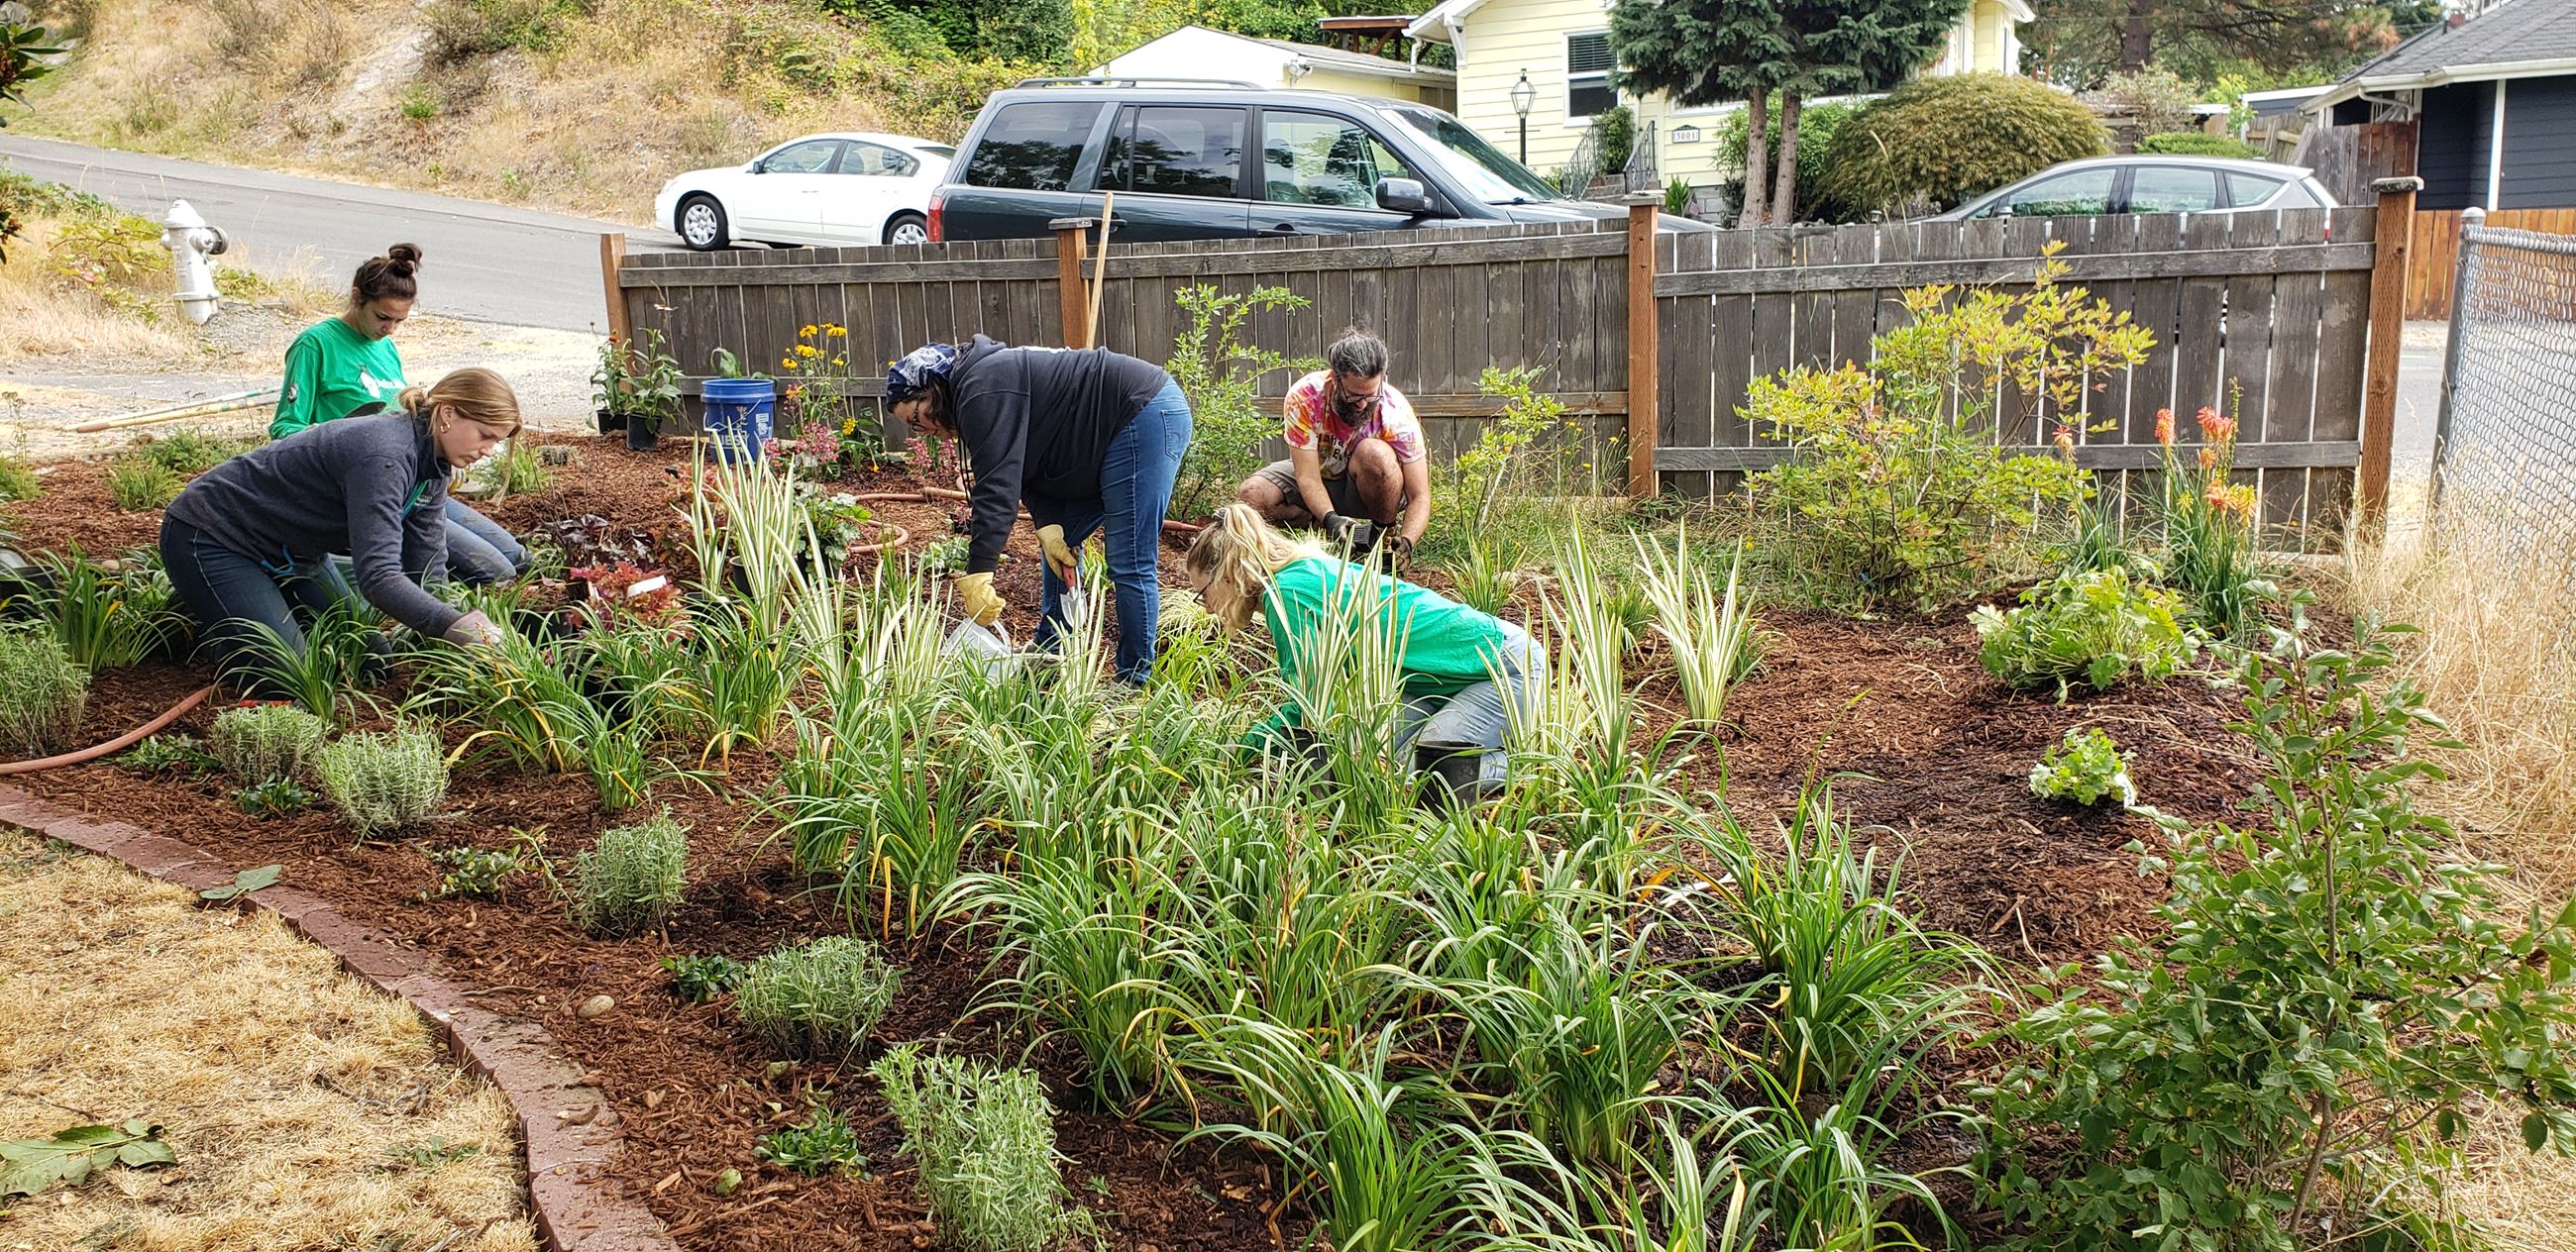
We split the labor into two days. On day one we removed the grass and dug to an appropriate rain garden depth. We filled that hole with rain garden soil, a mixture of sand and compost. We returned two weeks later to plant, making sure to water heavily as it was still summer. We planted over 20 varieties of plants, which were carefully selected by the Master Gardener to provide color and interest year-round.
Rain gardens are vital parts of green infrastructure, and I was thrilled to be a part of installing one in the South Sound. I hope my story inspires you to make your own rain garden!
You can learn more about their impact, or about how to install one in your yard at on our rain garden page.
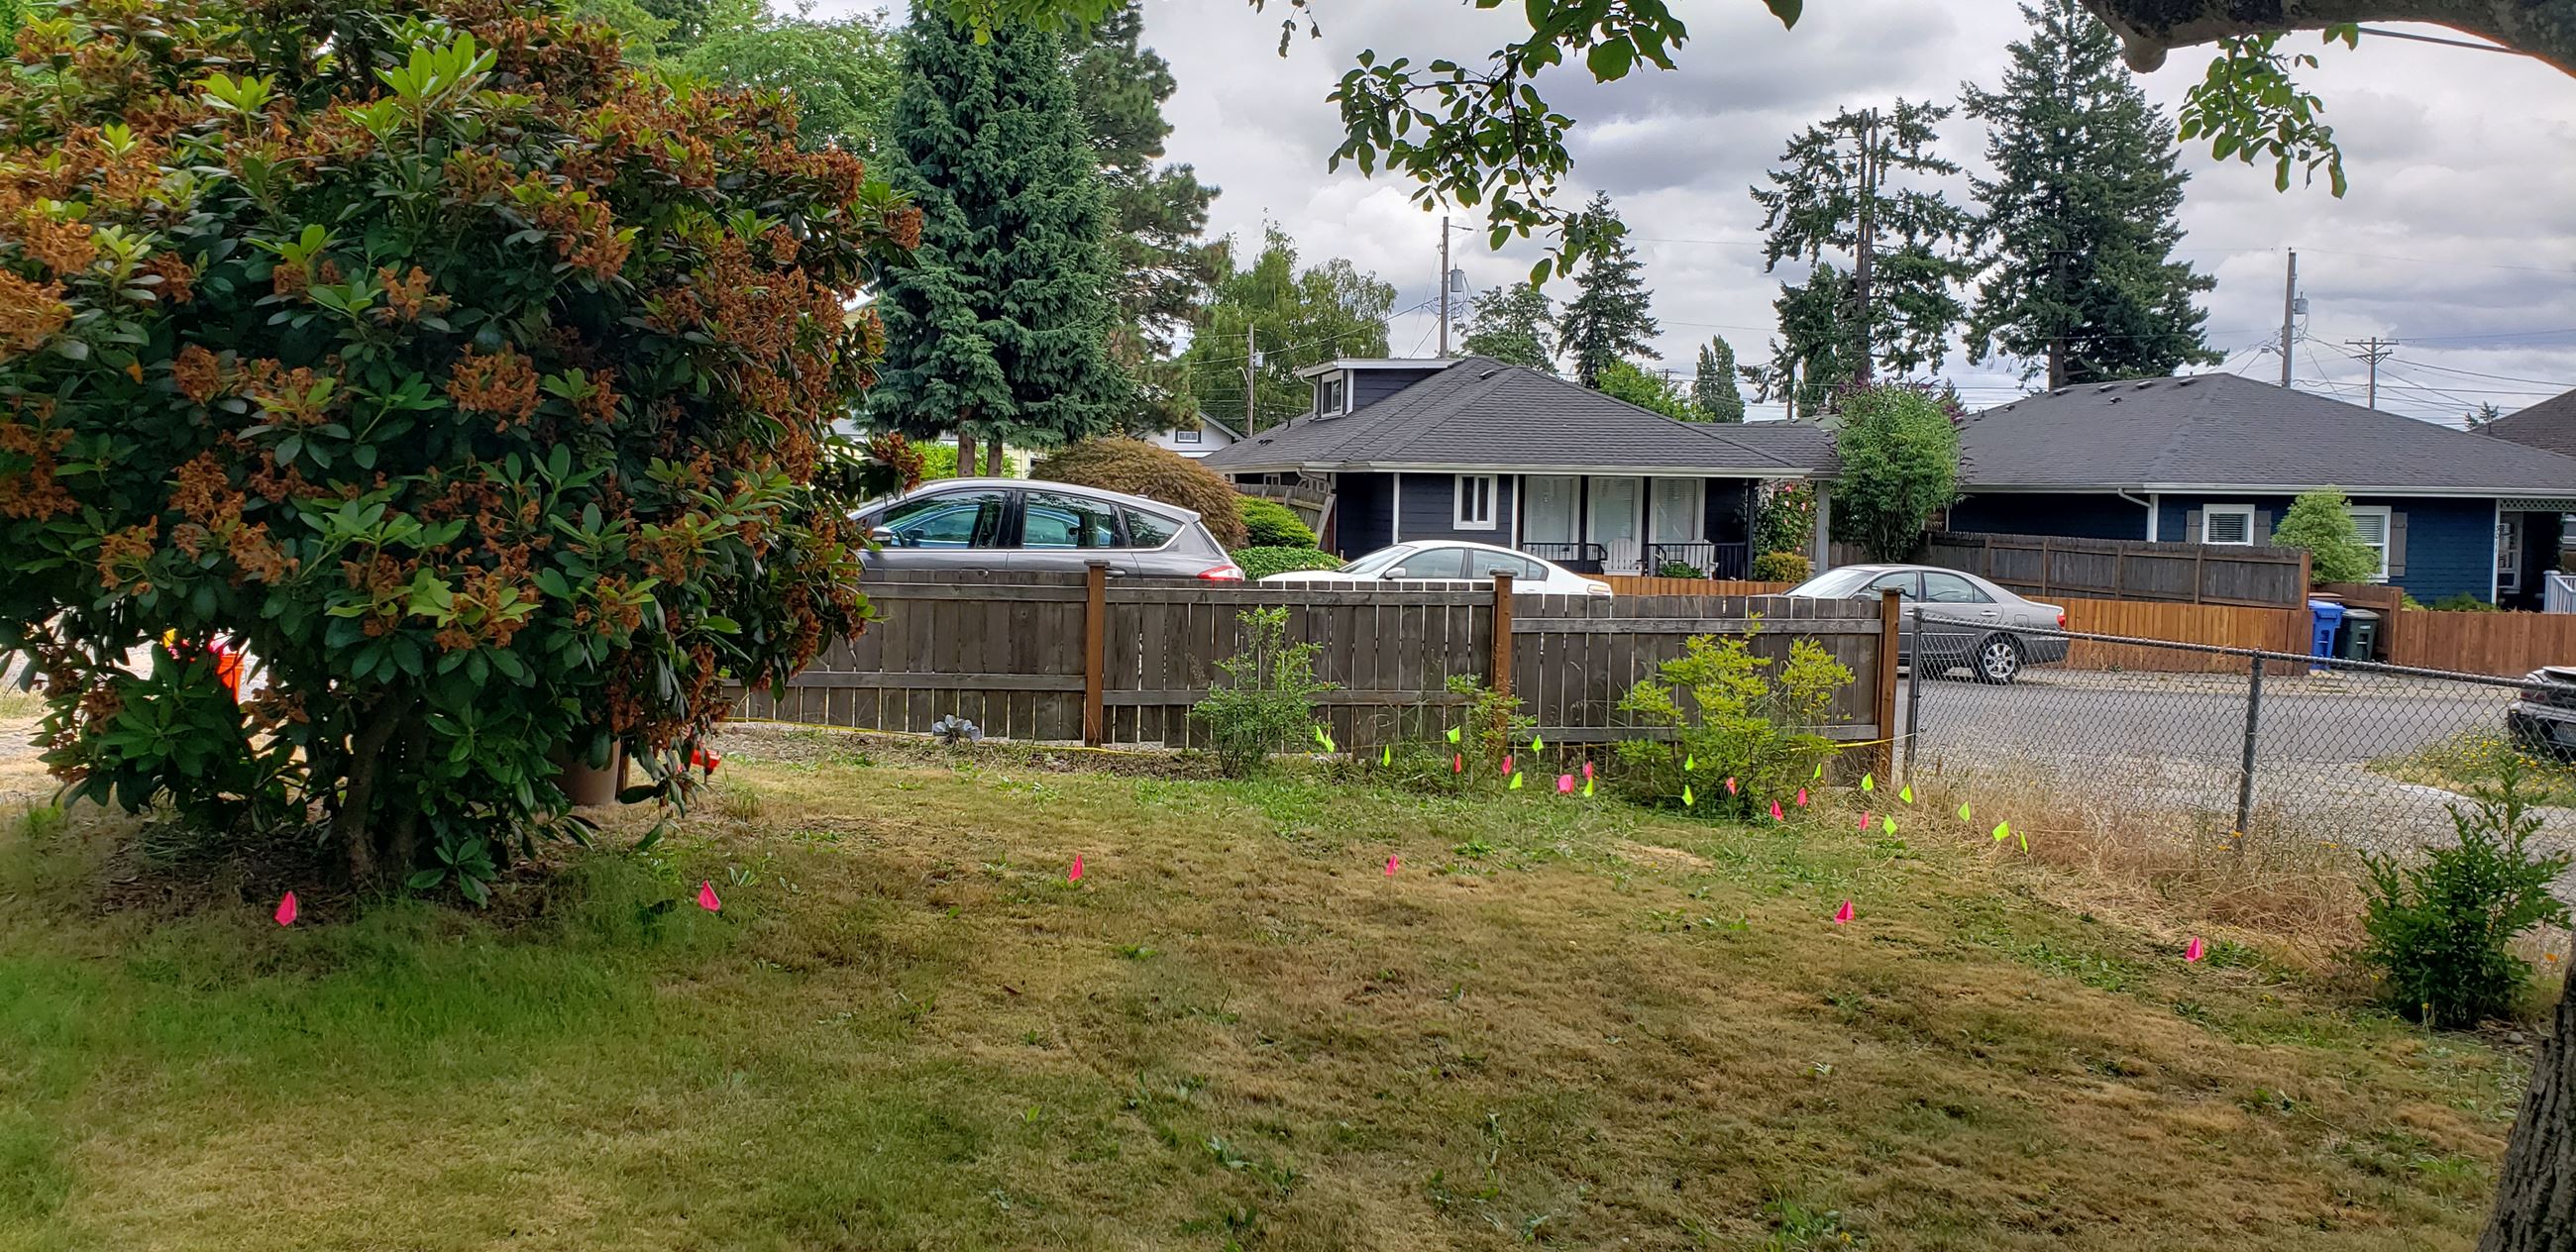
Before rain garden installation
After rain garden installation